In this article I will tell you how to create and send custom notifications using apex in Salesforce. Before we can create custom notifications we have to create a custom notification type in salesforce from setup.
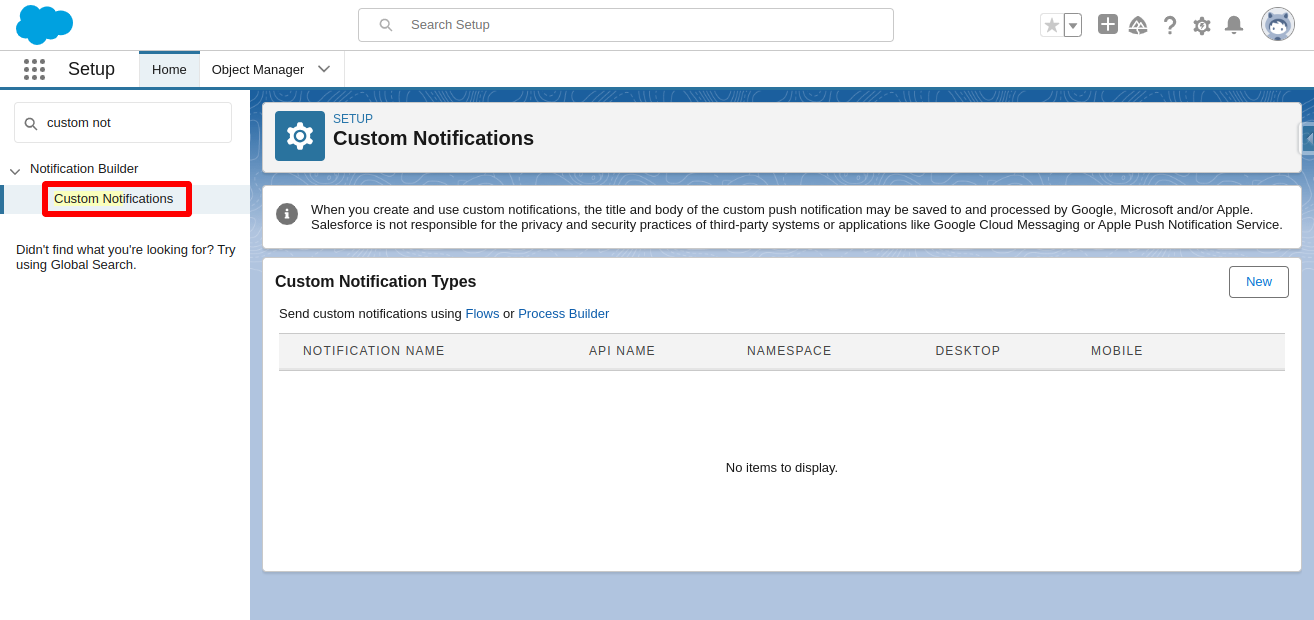
Create a Custom Notification Type
- Go to Salesforce Setup.
- Search for Custom Notification under Notification Builder.
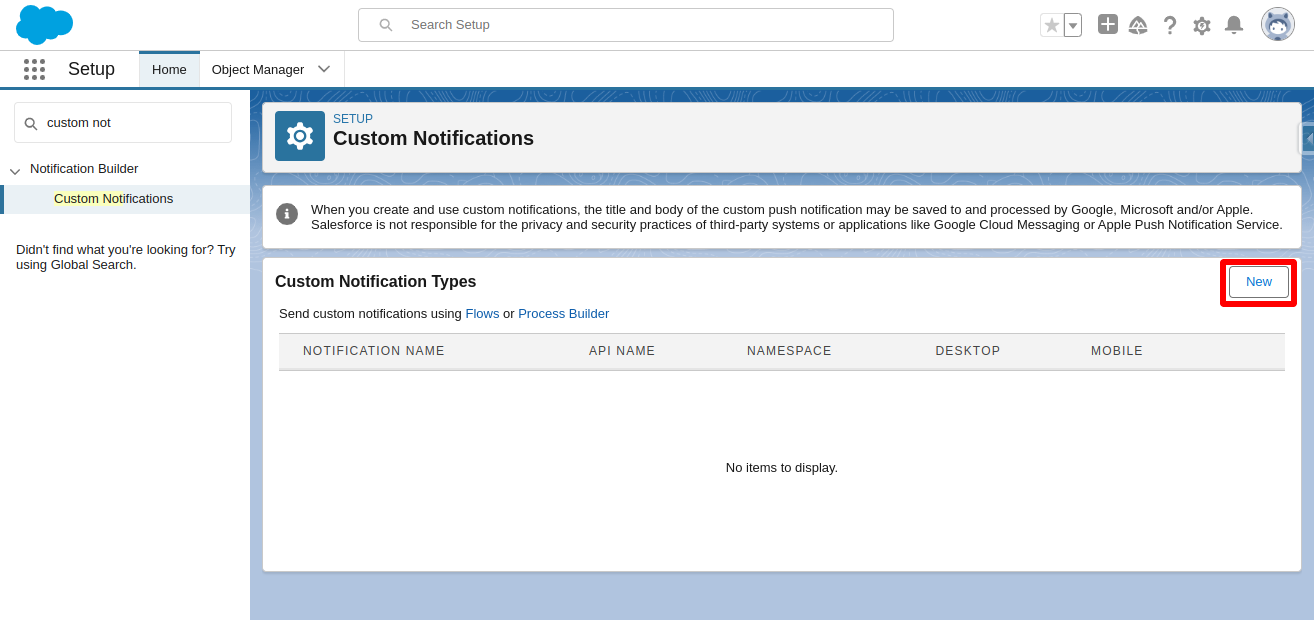
- Click on the New button.
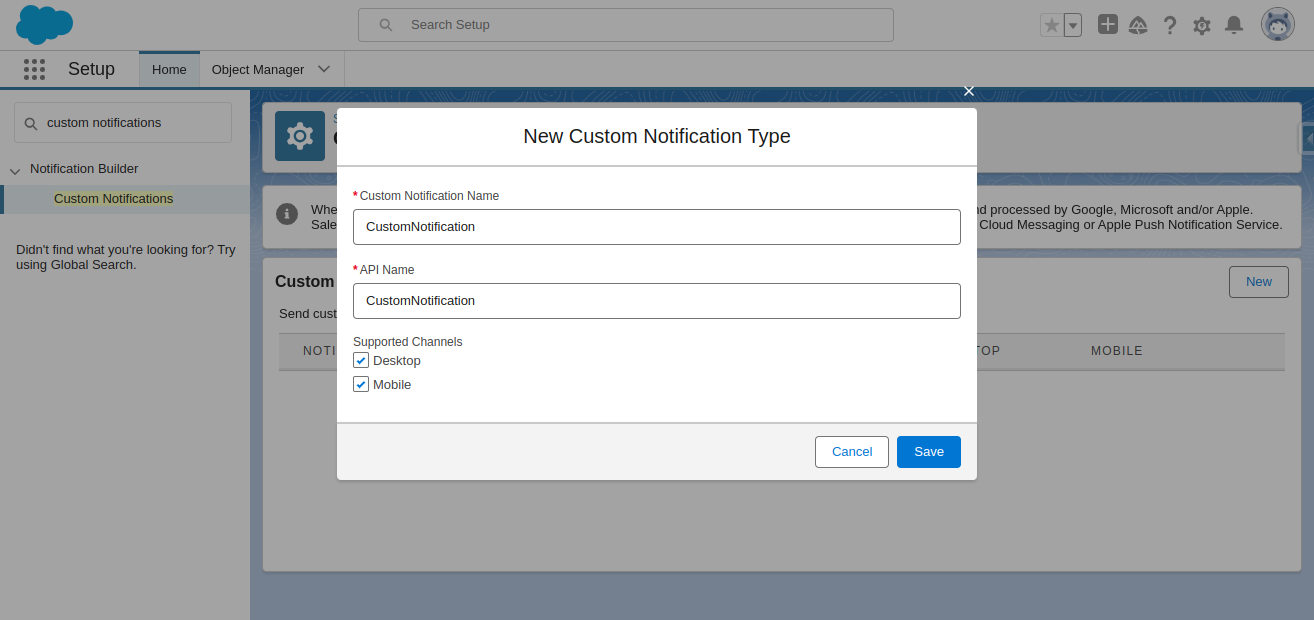
- Fill in the details.
Send Push Notification in Salesforce
Before executing the code below, replace the name of the custom notification type in the SOQL query in line number 1 else you will get an error. Also replace the value of recordId variable in the 3rd line.
CustomNotificationType cnType = [SELECT Id FROM CustomNotificationType WHERE DeveloperName = 'customnotification'];
Id userId = Userinfo.getUserId();
String recordId = '5005i00000B3jbiAAB';
Messaging.CustomNotification customNotificationObj = new Messaging.CustomNotification();
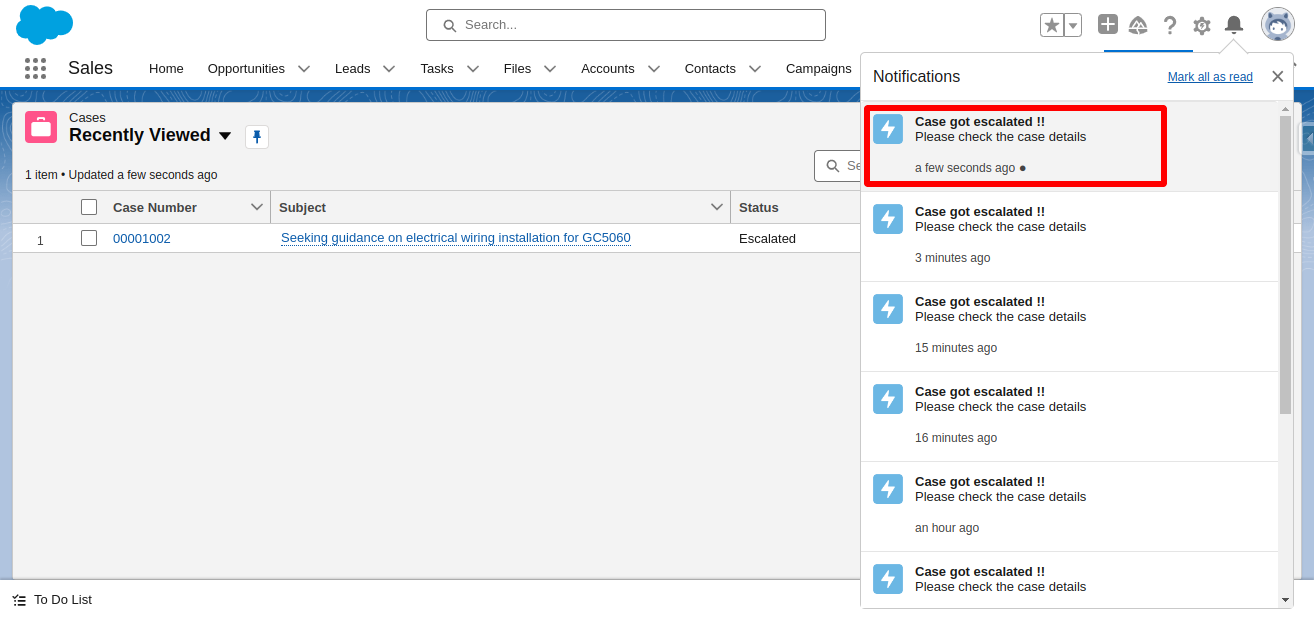
customNotificationObj.setBody('Please check the case details');
customNotificationObj.setTitle('Case got escalated !!');
customNotificationObj.setNotificationTypeId(cnType.id);
customNotificationObj.setSenderId(userId);
customNotificationObj.setTargetId(recordId);
customNotificationObj.send(new Set<String> {userId});Now let’s understand the code before executing it. Here we are using the CustomNotification class of Messaging namespace. In line number 1 we fetched the custom notification type which we created earlier. We fetched the userId using the getUserId() method of the UserInfo class which will be referenced later in the code. Also we have created a recordId variable to store the id of record to which user will be redirected when user clicks on notification.
We created an object of CustomNotification class and after that we set various attributes of customNotificationObj using the methods provided.
- setBody() and setTitle() methods are used to set the body and title of the notification respectively.
- setNotificationTypeId() is used to set which custom notification type you want to use for sending notification.
- setSenderId() is used to set the sender of the notification.
- setTargetId() is used to set the target record of the notification.
- And finally the send() method is used to send the custom notification to specified users.
To learn more about CustomNotification class you can check the apex reference guide from here.
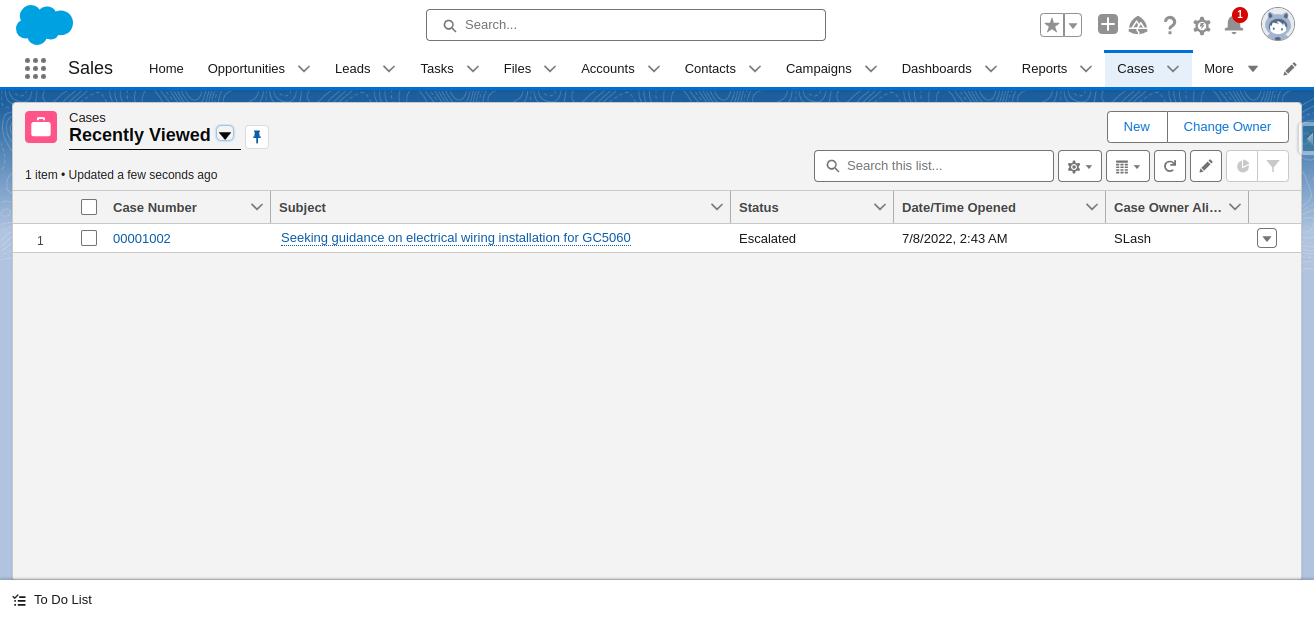
After executing the code you will see a notification on the bell icon like in the image below.
When you click on the bell icon you will see the details of notification like body and title.
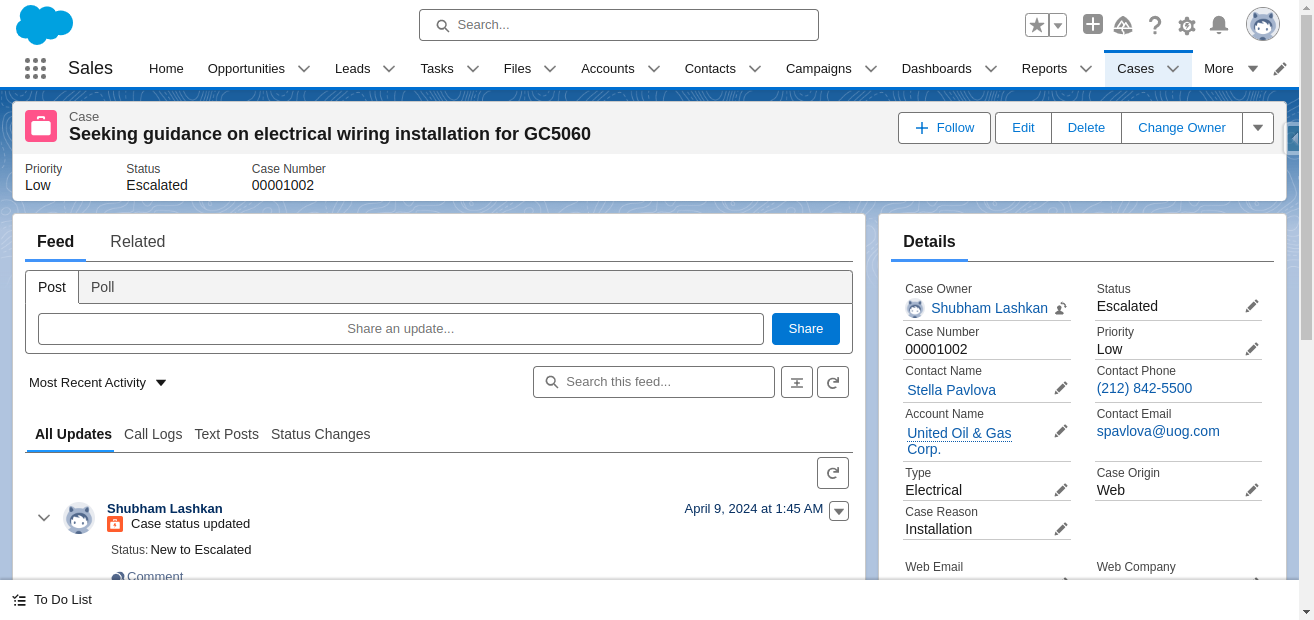
When you click on the notification you will be redirected to the record whose id you passed while executing the code.
I hope now you know how to create and send custom notifications using apex. If you have any doubts or facing any issues with creating custom notifications then please let me know in the comment box below. Learn about Salesforce Apex Code Best Practices.
